So to help pass the time, I thought I'd post this time lapse that I put together on Sunday. Nothing special. Eventually, I'll learn how to put a bunch of them together into a longer video with music. But not right now. My friend Justin is working on a sweet one. You can see one that he did of flowers growing here.
Today, Sunday July 15, is officially Jamie's due date. And yet, there is still no baby.
I've been on pins and needles all week at work, wondering when I'll get the call. Thankfully, my new employer has been very understanding about it all, letting me know that I can rush home whenever I get the call. In addition, they have been very helpful with the whole insurance situation. I was able to get added to the new insurance immediately, no waiting period. I guess this is rare, which makes me even more grateful. And we have already received our insurance cards, which is another blessing.
Now, all we need is for the little guy to come. Hopefully I'll get to introduce him by the end of the week. Keep your fingers crossed.
By the end of July, my life will be completely different than it was in June. Basically, my life as I know it is going to completely blow up, and all for good reasons.
Here's why...
Jamie could go into labor at any minute. Before we know it, our first born son will arrive, and our lives will never be the same. I'm getting more and more excited every day to meet him.
Three weeks ago, Jamie quit her job to prepare for her new job as a stay at home mom.
Today was my last day in public accounting.
On Monday, I will start a new job in the accounting department of a large local company. After months of searching, interviewing, and praying, I received the offer I was waiting for. I'm nervous and excited for what this new opportunity holds.
So there you have it. July will be a month of big changes.
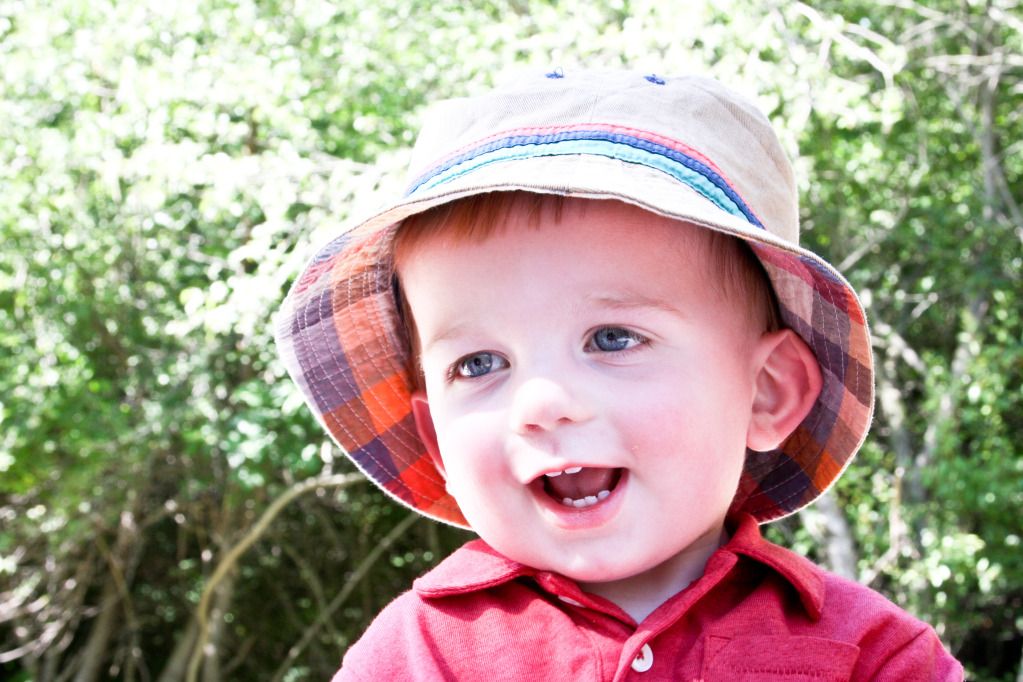
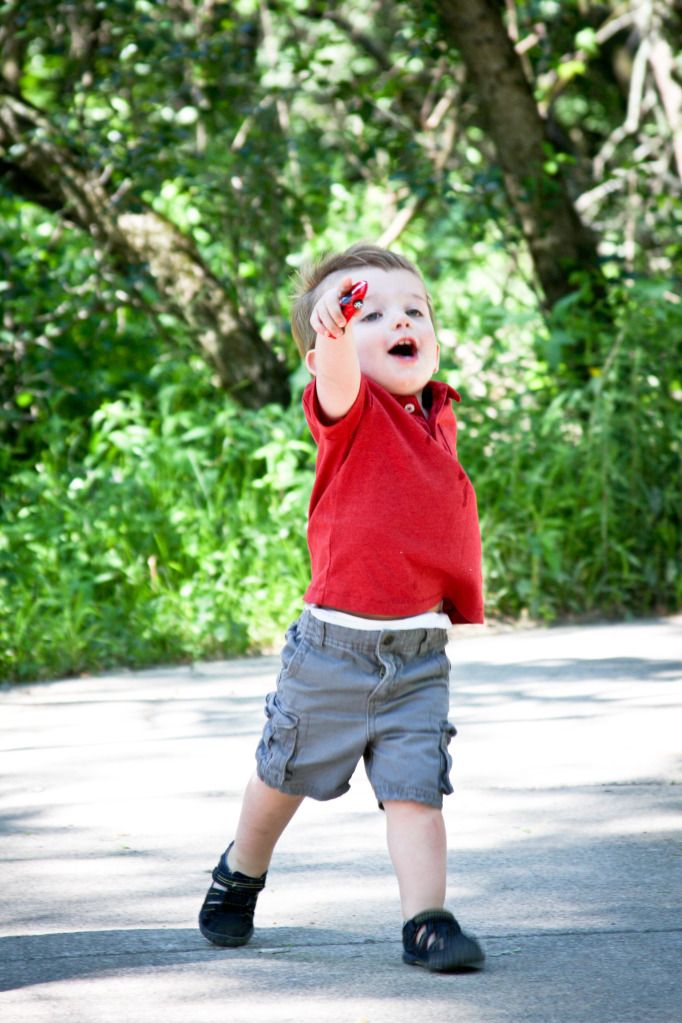
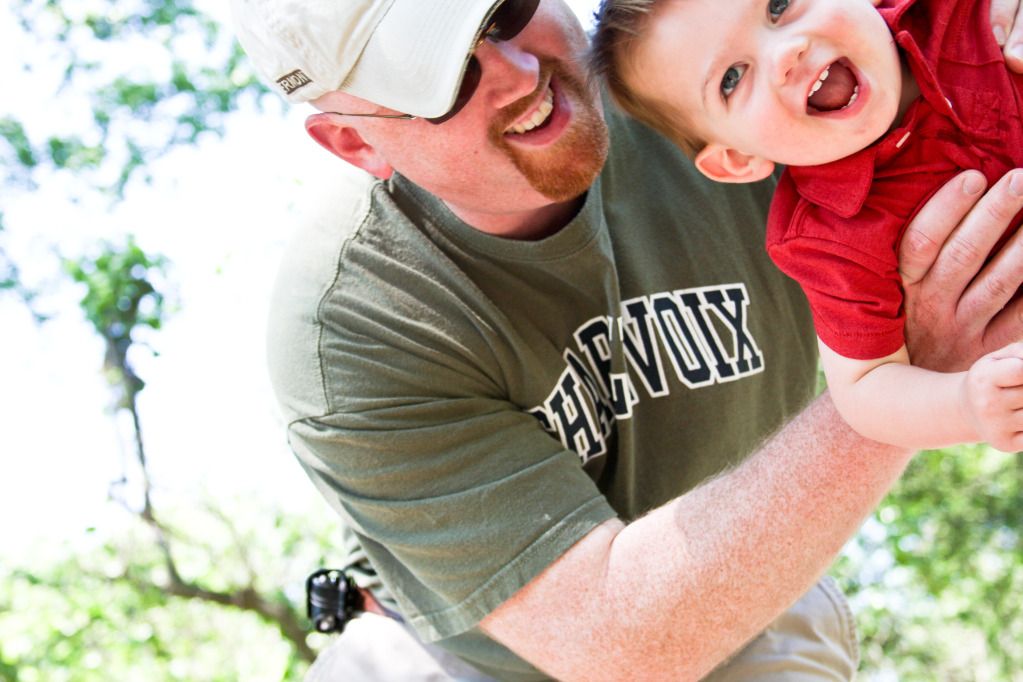
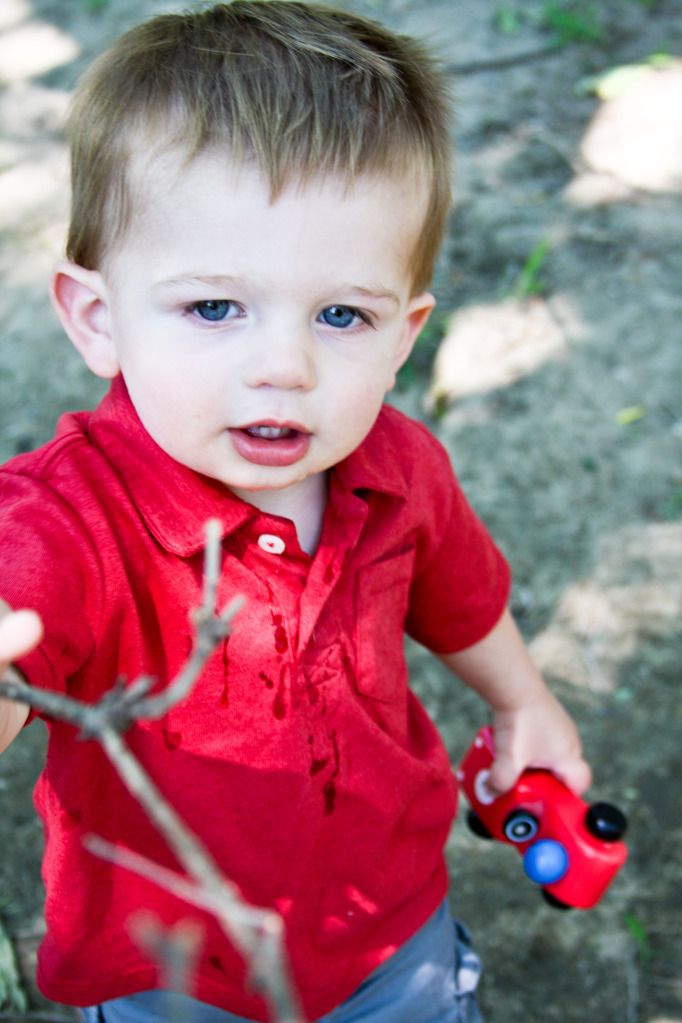
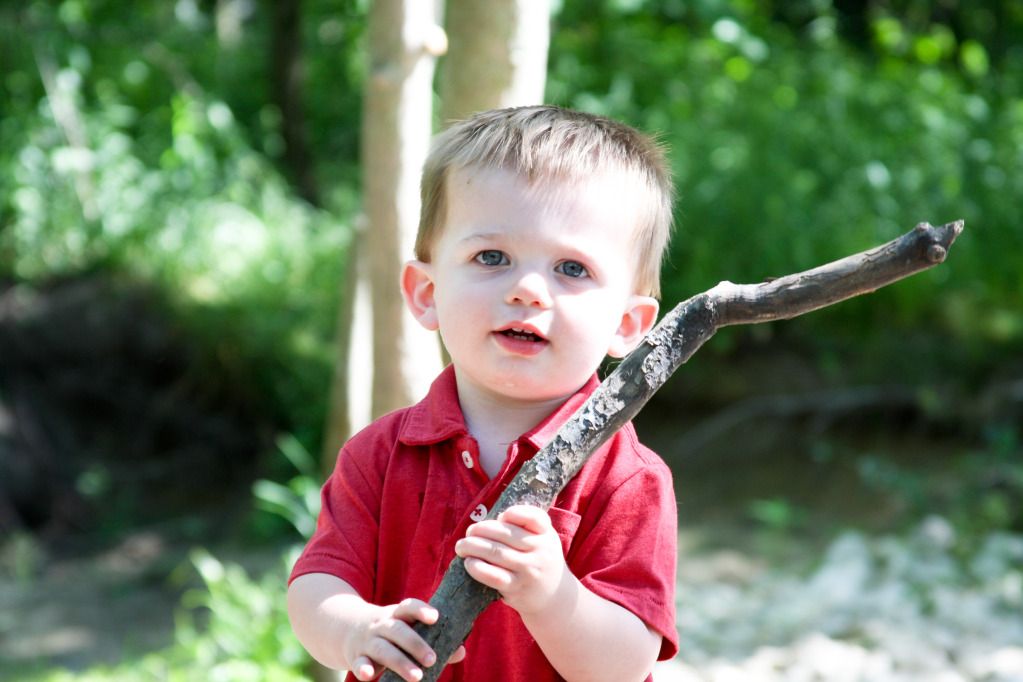
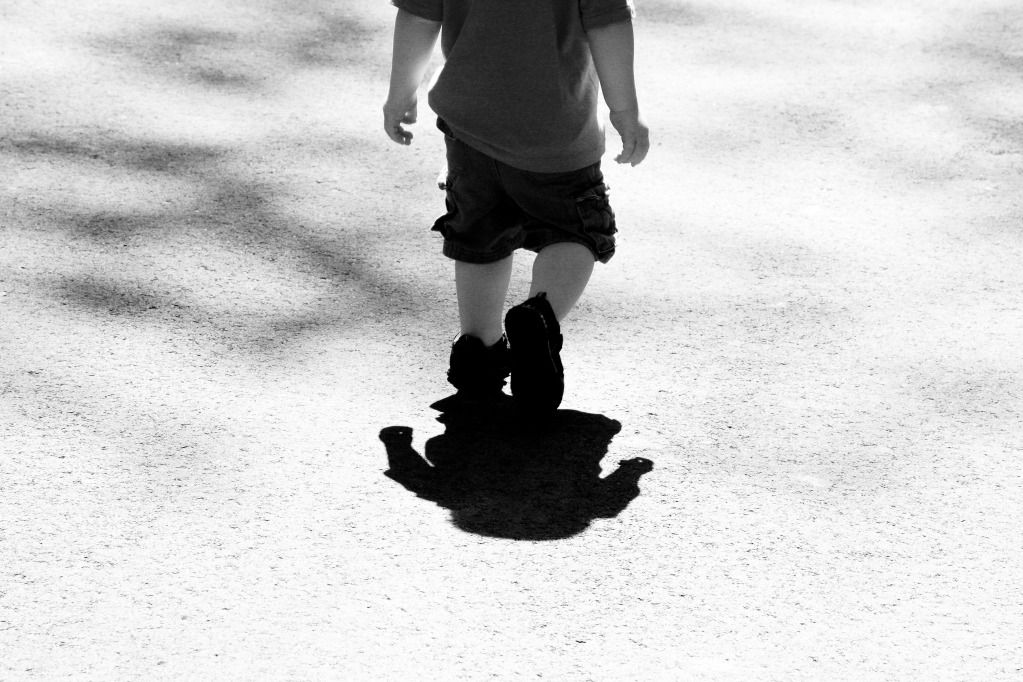
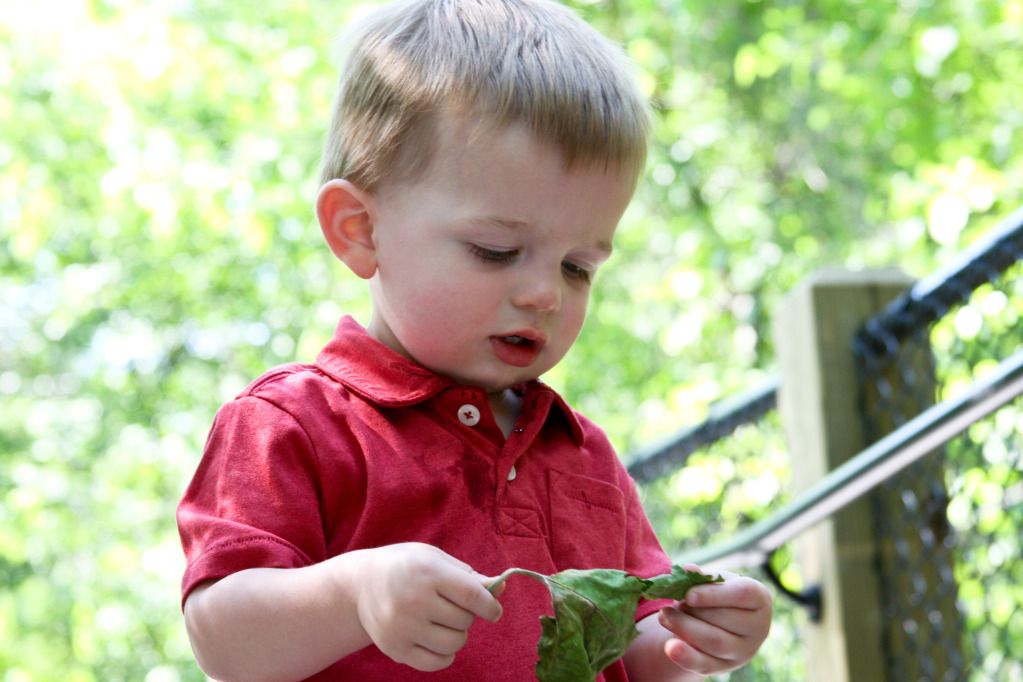
Jamie and I recently had the opportunity to photograph the two year old son of a couple from our church. Now up to this point, I've done senior pictures, family pictures, engagement pictures, and even a wedding. But I hadn't ever really taken photos of a subject so young. For all of you who have young kids, I'm sure you can attest to the fact that getting a good photograph of a hyperactive little kid can be a challenge. So for any that would like some pointers, here are seven things that I learned while photographing my subject Jack-Jack
Number 1: Have the fastest shutter speed possible
It's no surprise that young kids run around a lot. In order to get a nice crisp shot in the midst of all that movement, you will need a fast shutter speed to capture your subject and eliminate the chance of motion blur. I would suggest a shutter speed of 1/250th or faster. If you have a fully manual camera, you can adjust the ISO and Aperture to get the shutter speed as fast as possible. I went into further detail about how ISO, Aperture, and Shutter Speed work together in a previous post linked here. For everyone who has a point and shoot camera with out full manual controls, the simplest way to make sure that the shutter speed is fast is to take pictures in very well lit conditions. The camera will adjust the controls as necessary to give you a faster shutter speed in bright conditions.
Number 2: Use Auto-Focus
99% of the time, I have my camera on Auto Focus. But it always seems like I forget to switch it back from manual focus that 1% of the time and end up missing good shots as a result. If your camera has the option to switch between Auto-Focus and Manual Focus, it is always a good idea to check which setting it is on before you begin taking photos.
Number 3: Burst mode is your friend
With the burst mode, you can simply hold down your shutter and take photos in fast succession. With multiple shots, you minimize the chance of ending up with all photos where your subject has their eyes closed, or photos where the subject is on the edge of smiling (but not quite). Now I am not suggesting that you simply hold down the shutter willie-nillie without giving thought to the composition of the shot, or the lighting, or your camera settings, or the many other considerations that go into taking a good photograph. If you take that approach, you will most likely always end up disappointed except for a few "happy accidents." But once you have framed your shot and adjusted the settings for the lighting conditions, the burst mode can be a great way to capture those fleeting moments.
Number 4: Give them something to play with
You might (or might not) be surprised at how difficult it is to keep a grown adult's attention while trying to take a photo. During family photo sessions, it doesn't take long before somebody starts grumbling and complaining. So to expect a 2 year old to pay attention during a photo session is just ridiculous. So the best thing that I have found to do is to give the kid something to play with, such as toys or sticks or rocks. These items help keep the kid happy and also present unique photo opportunities. You can get some great shots while the kid is playing or exploring their surroundings.
Number 5: Just go with it
There are times where it is best to meticulously think about the shot you want to get, adjusting the composition, the exposure, and the various effects you can give your photo. Then there are times when you just need to accept what's given to you. Photographing little kids is one of those times. Just go with the flow and the whole experience will be better for all.
Number 6: Get down to their level
Many times, the difference between a good photo and a great photo is perspective. Great photographers can make you see something that you've looked at a thousand times in a whole new way. And one of the key tools they use to do this is perspective. With young kids, the perspective that I find that works the best is to get low and see the world from their view point.
Number 7: Tickling is fair game
There are some kids who simply don't want to smile. At times like those, you need to pull out all the stops. Anything is fair game. Even tickling
So for all the parents with young children who are struggling to get good photos of their kids, I hope these tips help. I will be in the same boat in a week or two.
One of the necessary things to do while backpacking is to store your food in a place that is safe from animals. Most often this done by hanging your food up in a tree by a rope (a bear bag), though you can use special containers as well. If you ever search the internet for bear bag techniques, you'll quickly find that there are a lot of methods to hang a bear bag.
In my search for an easy bear bag technique, I came across a technique that interested me. It's called the PCT Method (Pacific Crest Trail Method). This weekend I got to try it out.
To do this method you will need the following items
1) Rope (I used 50 feet of para-cord)
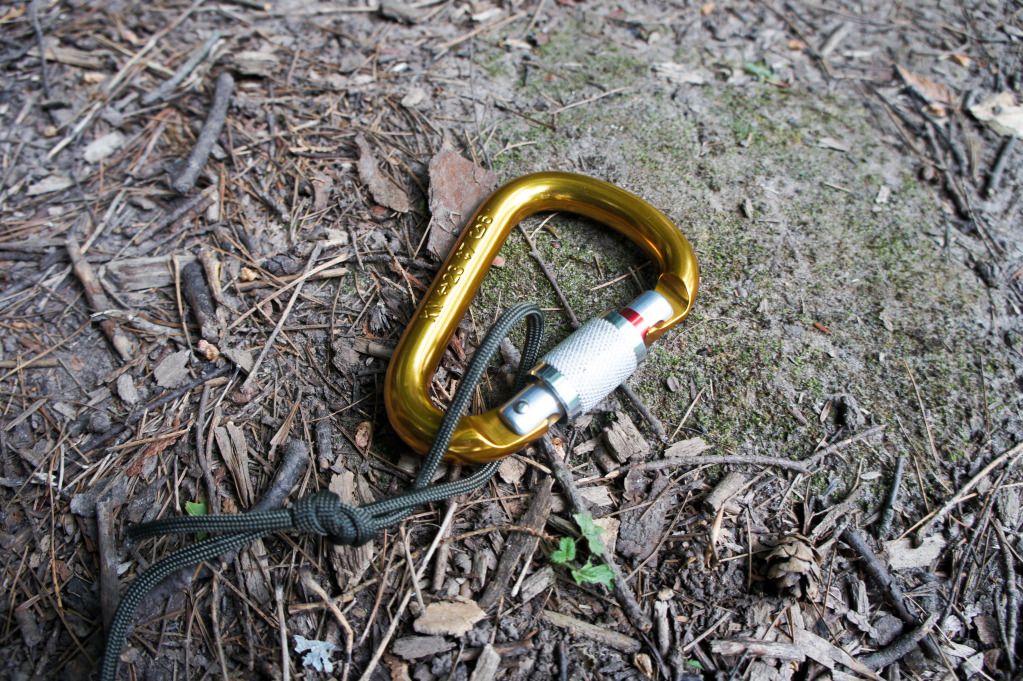
2) A carabiner
3) A stuff sack
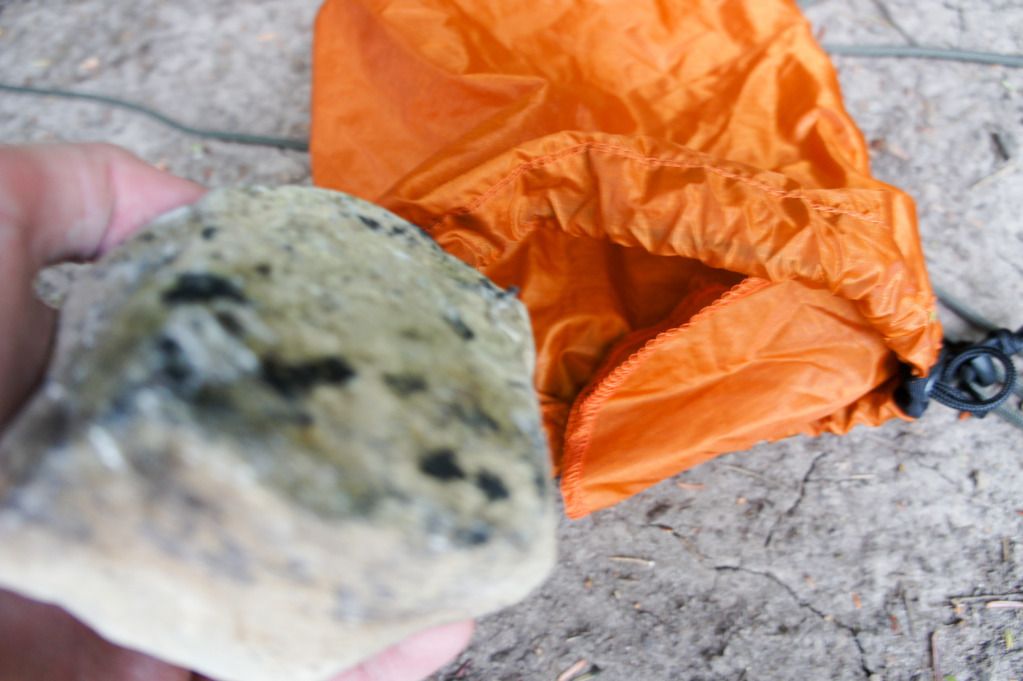
4) A rock
5) A thumb thick stick
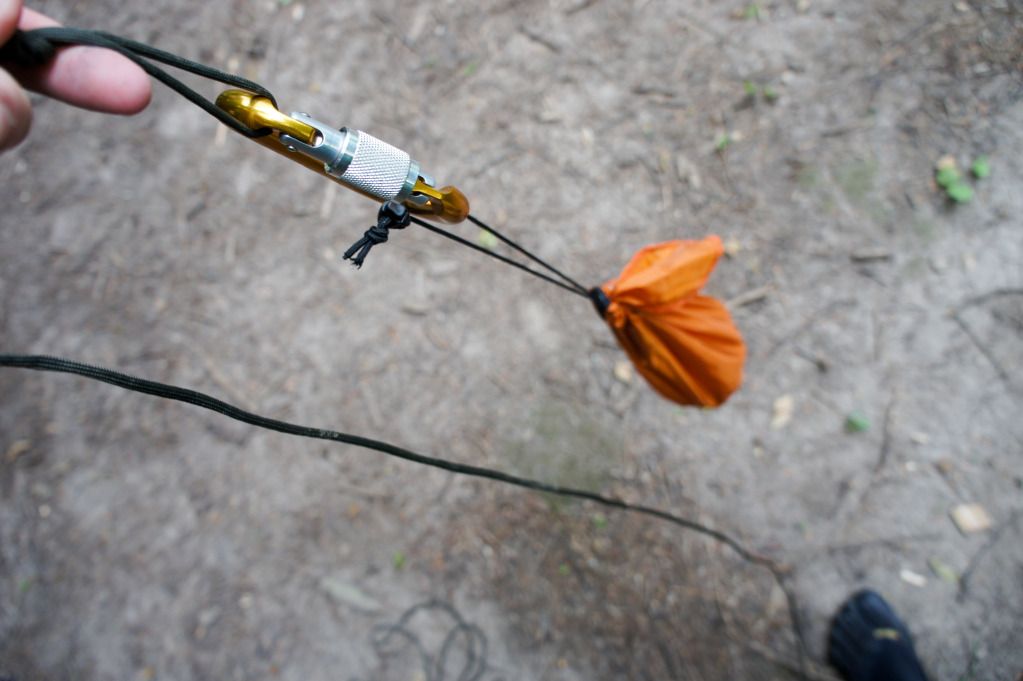
First, you tie your rope to the carabiner. I used a double figure 8 not to tie my rope to the carabiner, as seen below.
Then, you take the rock and put it in the stuff sack.
Next, you hook your stuff sack to the carabiner.
By having the rock filled stuff sack tied to the rope, it makes it easier to get your rope over the necessary branch. You need to find a strong branch that is more than 20 feet high. Next, you throw the stuff sack over the branch. Don't be surprised if it takes a few times to get your rope over the branch in the right position. The rope needs to be at least four feet away from the trunk of the tree. (This keeps an animal from climbing the trunk of the tree and being able to reach the bag) Also, make sure to hold to the end of the rope after you throw it to keep it all from flying over the branch.
Once you get the rope over the branch, you lace the rope through the carabiner, as seen below.
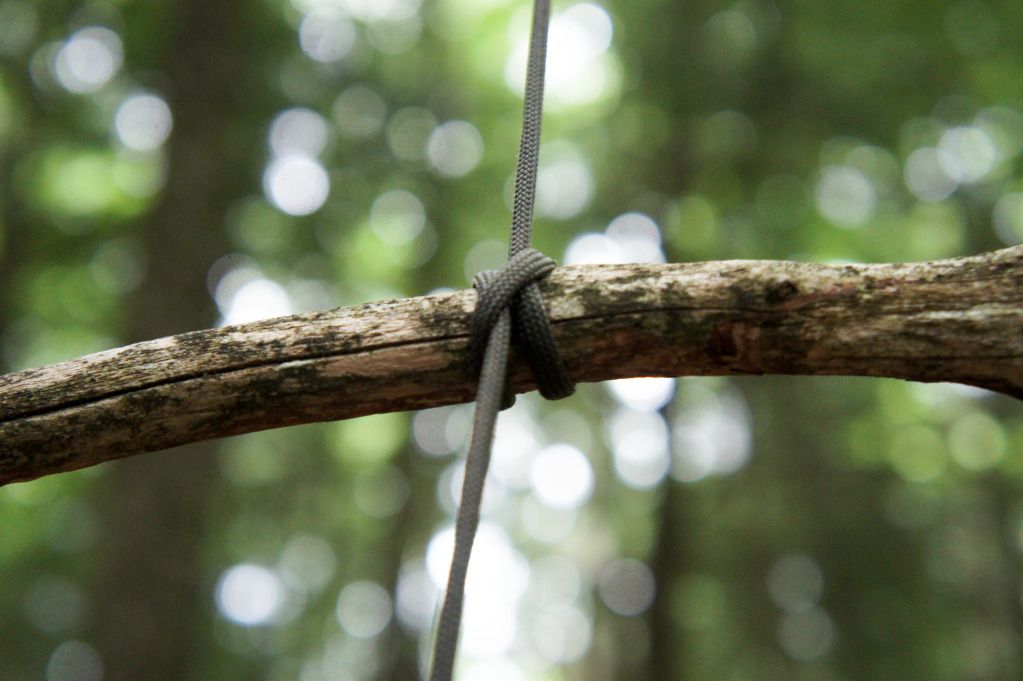
You attach your real food bag to the carabiner instead of the rock filled stuff sack. Then you pull the rope and hoist the food bag up into the air, all the way up to the branch. This is where the stick comes into use. As high as you can reach, you tie the stick to the rope with a clove hitch knot, seen below.
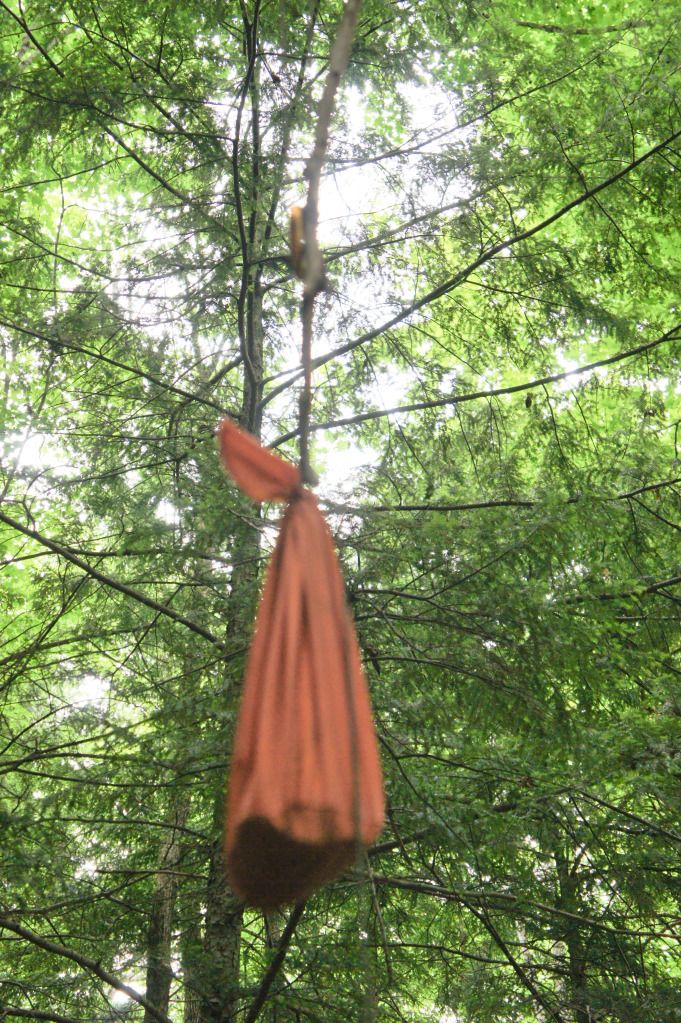
With the stick tied in place, you let go of the rope. As the food bag starts to fall, the stick gets pulled into the air. This is why you laced the rope through the carabiner. The stick gets caught in the carabiner and keeps the food bag from lowering all the way down. It's kind of hard to tell by the picture, Sorry :(
For an easier to follow description of the PCT method, you can watch the following video. He does a very good job of explaining the PCT method and how to tie a clove hitch not.
Pros to this method:
1) You only need one tree
2) You don't need to tie off the second end of the rope. (I believe this method was developed because bears along the Pacific Crest Trail were getting smart enough to cut the ropes to drop the food bags)
Cons to this method:
1) Somewhat difficult to tie the clove hitch while keeping a fully loaded food bag in the air. (Though easier with a second person)
2) To keep the bag how enough out of reach for a bear, you need a really high branch. This weekend we couldn't find a high enough branch for this method, so we just ended up tying off the rope to a nearby tree.
So for any backpackers out there, what bear bag techniques do you recommend?
So as mentioned in my last post, I spent the weekend backpacking up north with my friend Justin. I got up early on Saturday and drove to Justin's house. I picked up him, his dog, and his gear, and we were on the road. Roughly three hours later, we were at the Red River Bridge at the top of Tippy Dam Pond. Once at the trail head, we geared up and headed to the trail. From the trail head, you can immediately take the North Country Trail on the North side of the river, or you can trek about a half mile down the road to the South side of the river and pick up the Manistee river trail. That was our route for the weekend. We hiked down the road, over the bridge, and up a hill to where we pick up the trail.
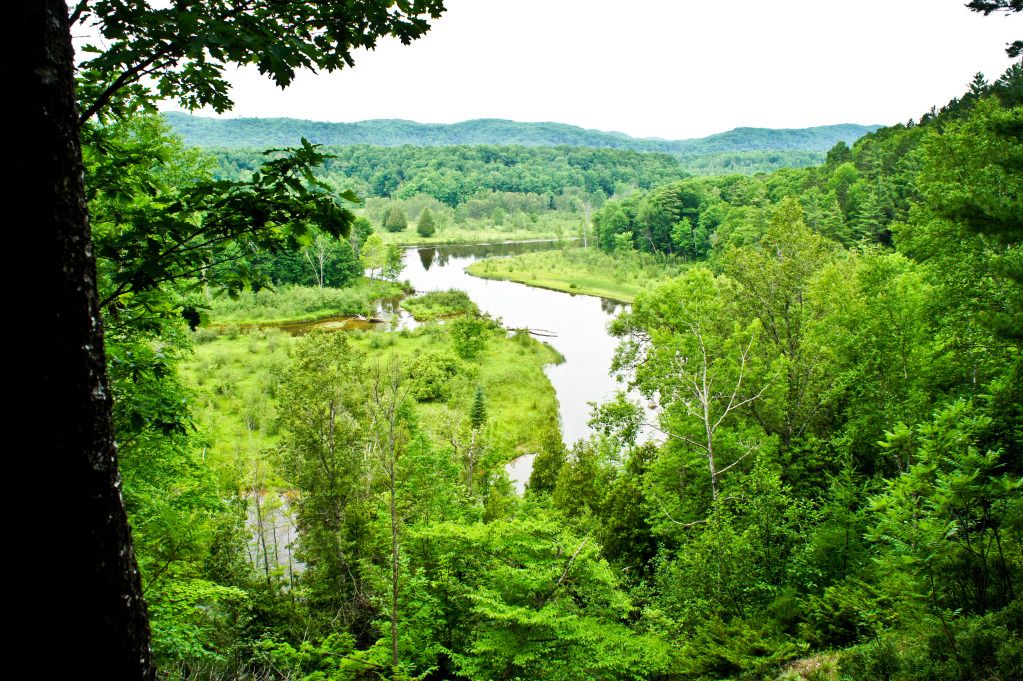
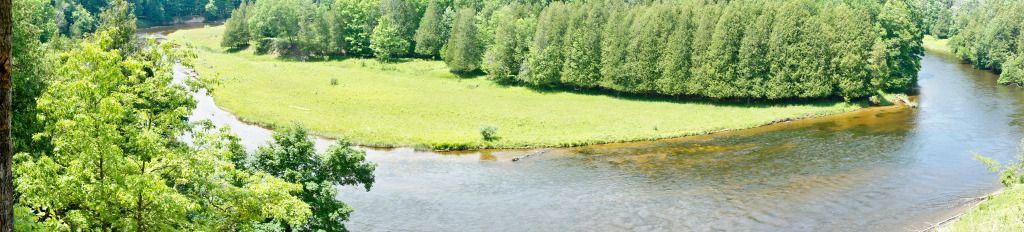
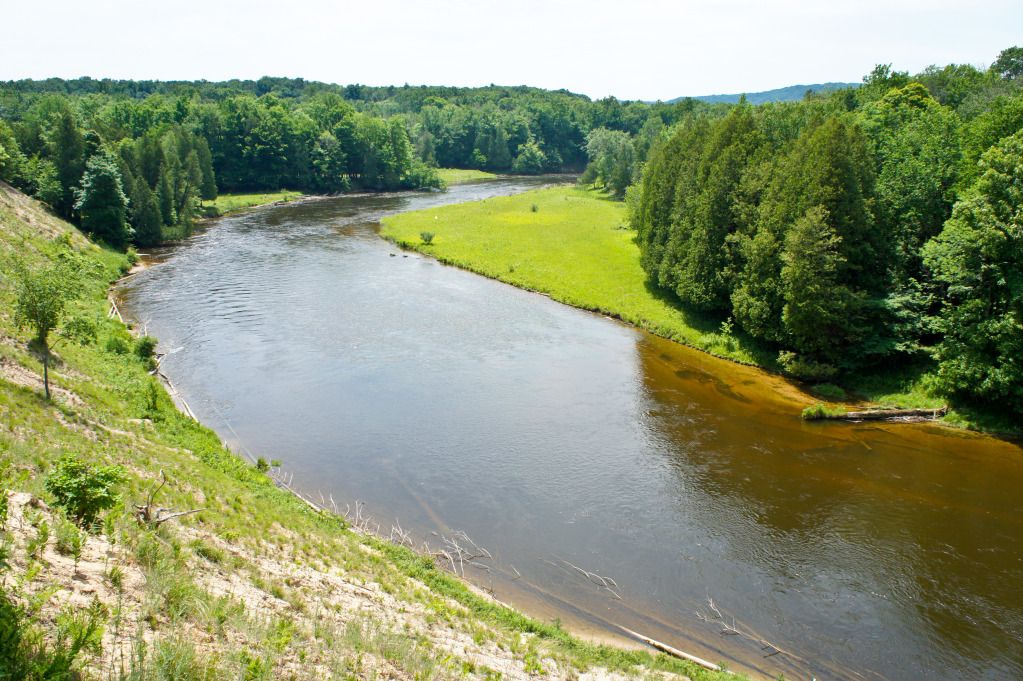
In terms of trails that I have hiked in the lower peninsula, the Manistee River Trail is probably the most scenic. The trail meanders along the Manistee River, giving great views from tall bluffs above the river.
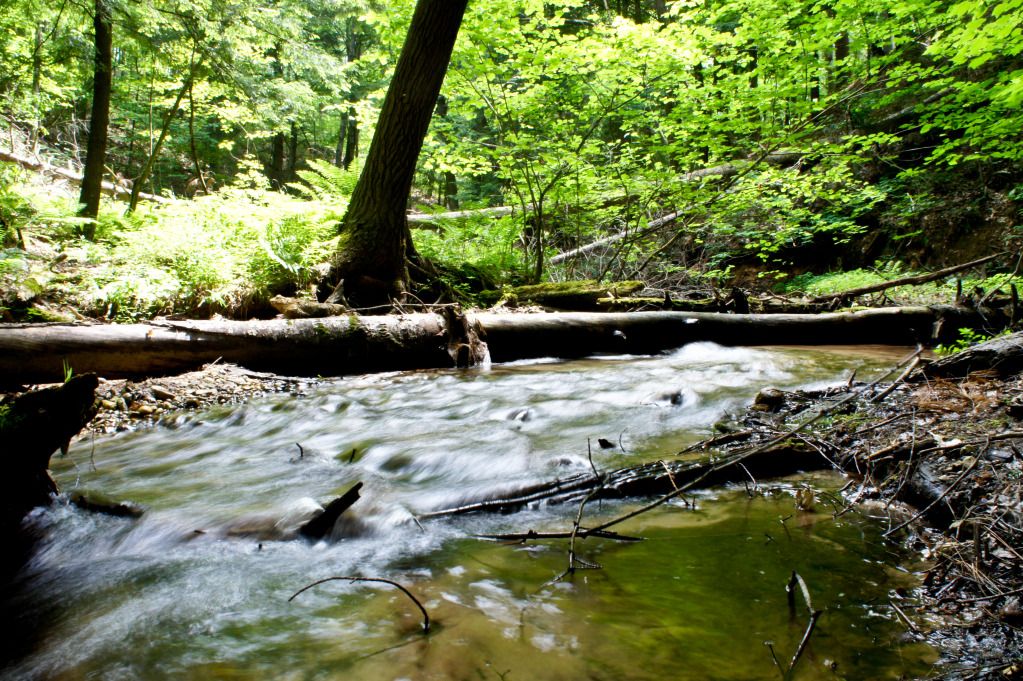
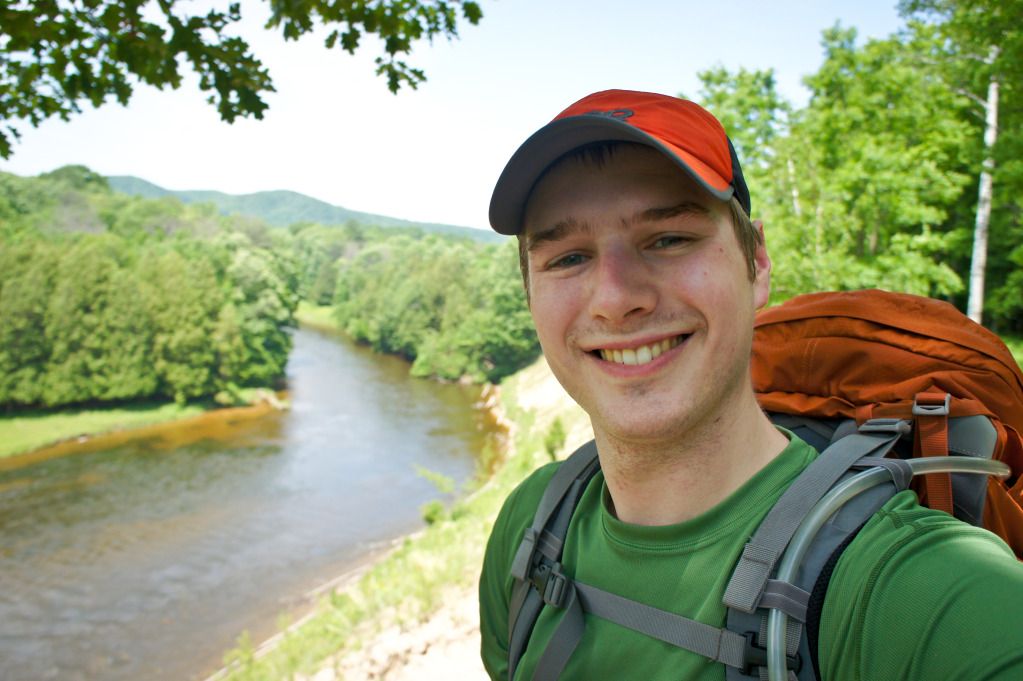
Here are a few off the views from the trail.
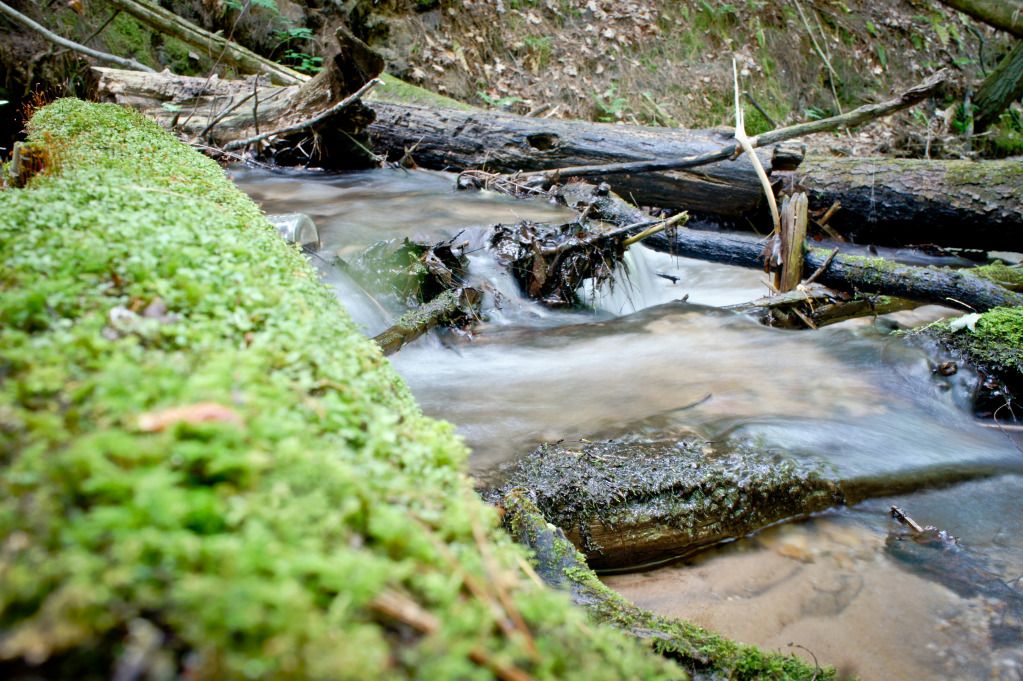
Our goal was to make it to the Hodenpyl Dam, a very doable distance in a day. But going down the trail, we began to realize that all the good camp sites were filling up fast. At first we thought we would make it to the dam and then back track to a prime camp site. But we decided that the chances of a good camp site being available by the time we made it back from the dam was slim to none. So we stopped hiking early for a sweet spot right next to the river and a babbling brook. Definitely worth it. We set up camp and went for a short swim. The water was cool and refreshing.
When we were done swimming, the sky started to darken and we were quickly caught in a rainstorm. Being that I hadn't seen any rain int he forecast, we had yet to put the rainfly on the tent. We quickly scrambled to get the rainfly and our gear covered. The rain only lasted a little bit, but the sky still looked menacing. Being that we were hoping to spend the night in our hammocks instead of the tent, we were keeping our fingers crossed. By the time it was dark, I decided not to risk it and retreated to the safety of the tent. Justin on the other hand made a go for it in his hammock. That however lasted only a short while, since the skies opened up with a crazy thunderstorm. I've only camped along this river twice, and both times have seen some wild weather. Though I typically sleep pretty well during thunderstorms and this time was no different. Justin described me as dead to the world.
When we got up, the forest was pretty damp. It didn't make much sense to sit around on damp logs, so we packed up and headed back to the truck. We made much better time on the way back, doing the same distance as the day before in about an hour less, which I consider somewhat impressive since I seriously jacked up my ankle on the previous day. We got back to the parking lot at the Red River Bridge. Justin wanted his pack off, so we shed our gear there and he ran to get the car which was still over a half mile down the road. He made the run in good time and before we knew it we were loaded up and on the road home. Justin would later find out that he had forgotten his camera. You can follow his recounting of that incident here. But he wouldn't come to that realization till long after we got home.
Before we had left, a friend of mine had told me about a place up in Shelby, MI that had these really good 1 pound burgers. Now after a backpacking trip, you are usually pretty hungry. So this was a necessary stop after our trip. Unfortunately, I couldn't remember the name of the restaurant. But I knew it was in Shelby and I knew it had the word bear in the name. So after a little searching with the smart phone, we found that the restaurant was called the Brown Bear. Let me tell you, it was definitely worth the stop. The burgers were delicious.
After that, we made the rest of the trip home. Unpacked and took a short nap.
All in all, it was a good weekend, and a great trail. I would recommend checking it out if you are ever up in the Manistee National Forest.
This weekend, my friend Justin and I are going on a quick overnight backpacking trip. So to get you all excited for us, I'm sharing a video that I stumbled upon a while back. It is a stop motion video of the Appalachian Trail in 5 minutes.